Getting the balance right
A healthy worm farm relies on a balance of two types of materials.

Looking for a fun, hands-on way to teach your children about sustainability? A worm farm is a wonderful family project that helps reduce food waste, supports your garden, and gives children the opportunity to care for living creatures while learning about nature. Worms may be small, but they play a big role in creating healthy…
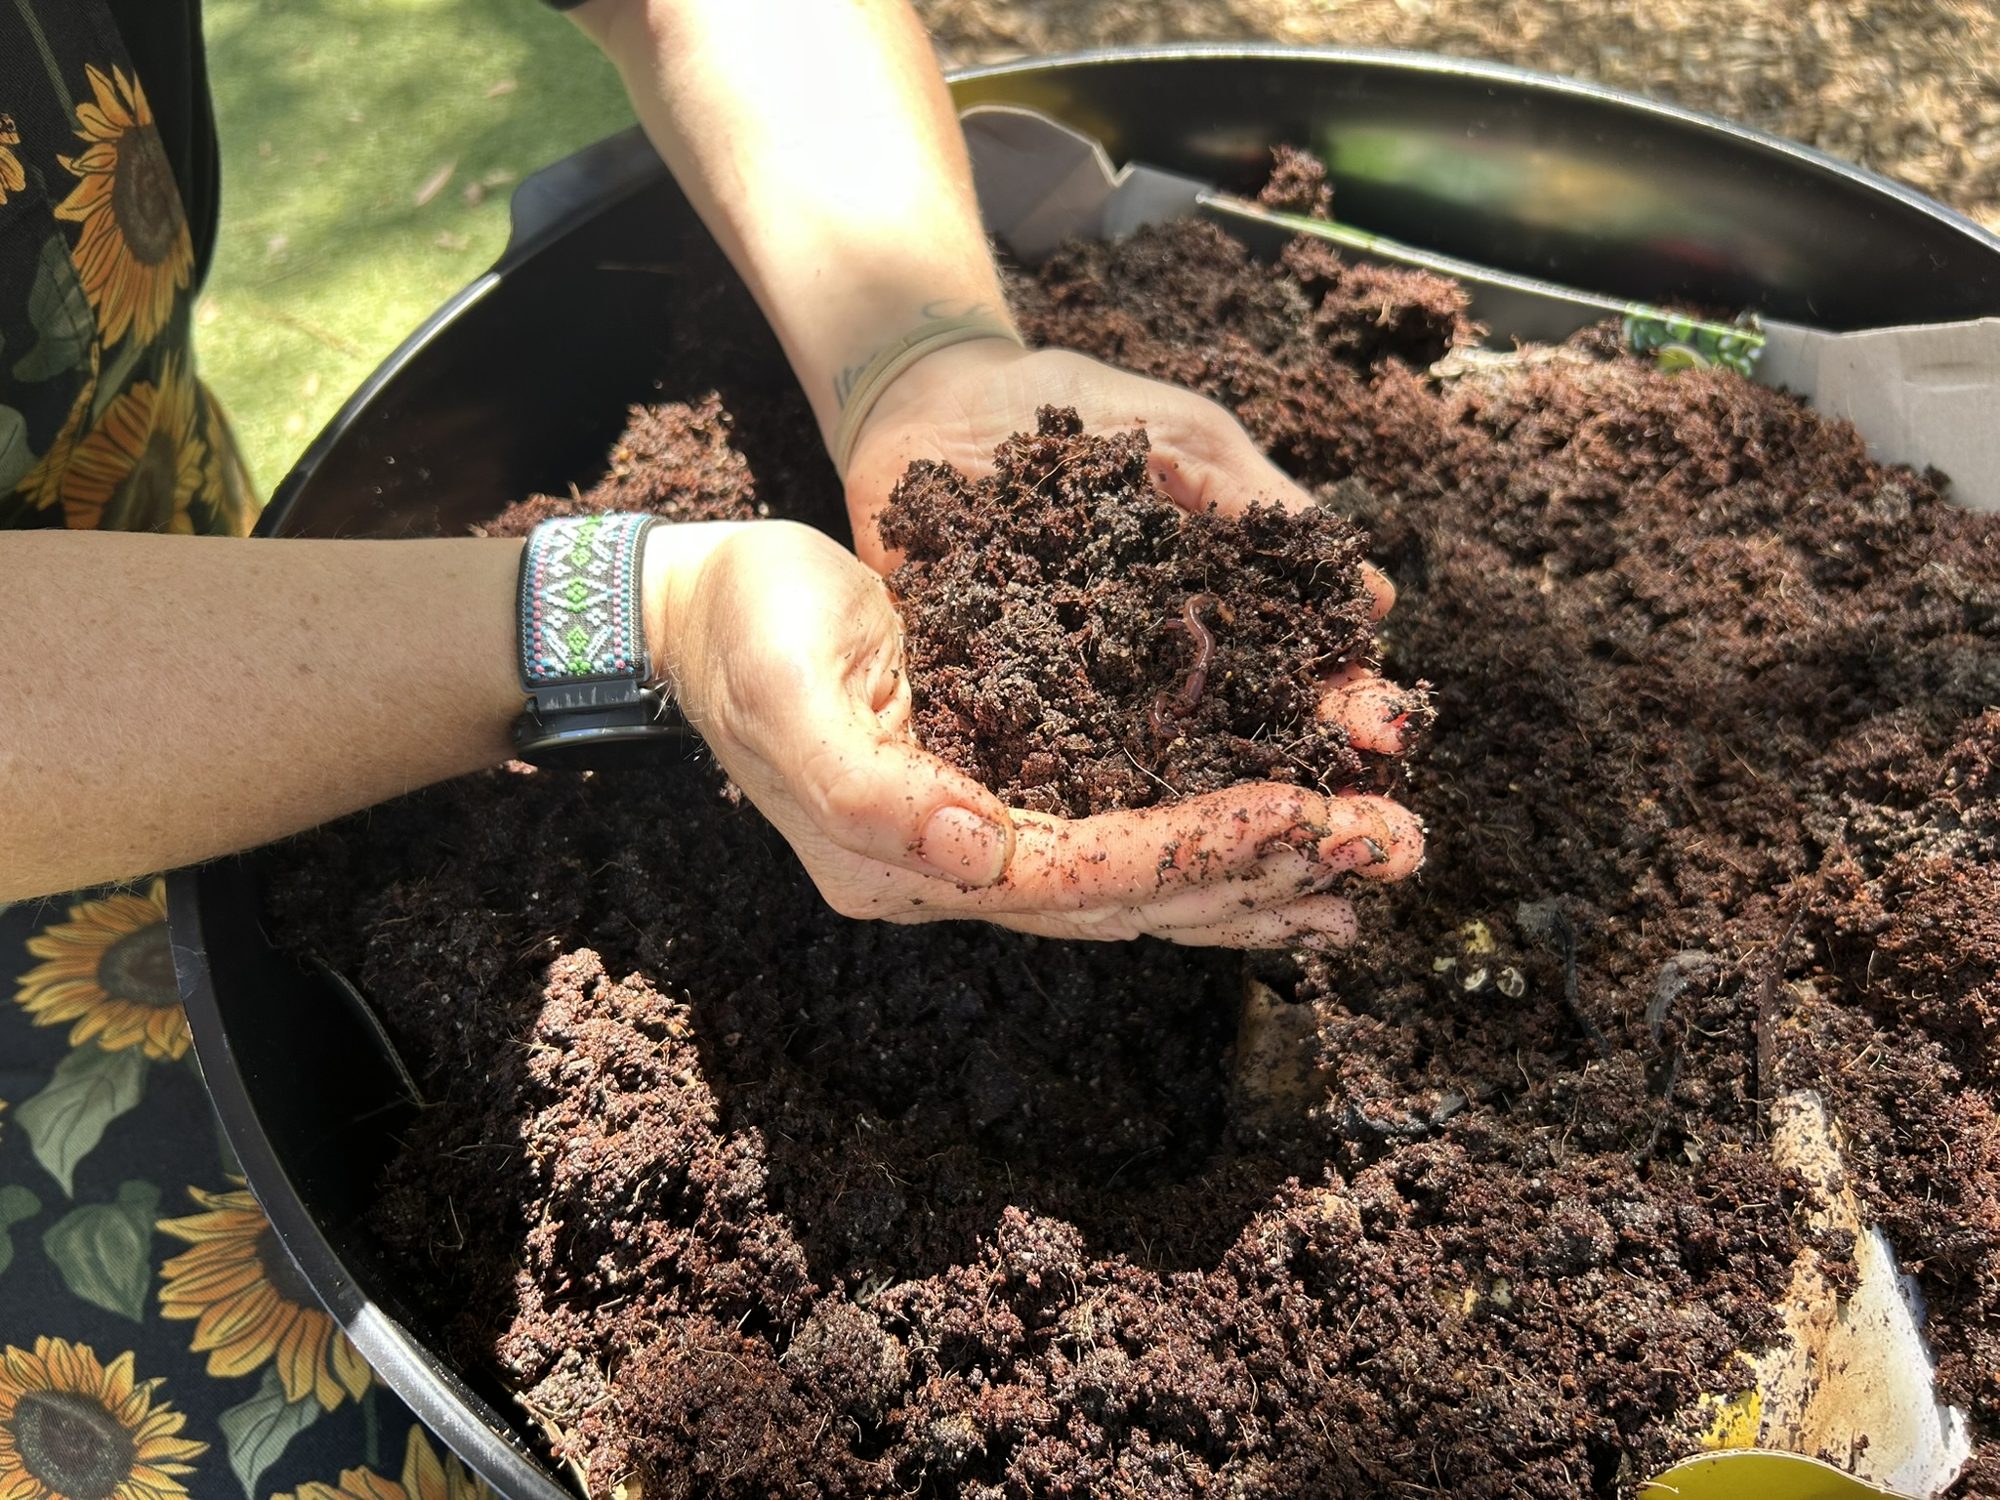
Looking for a fun, hands-on way to teach your children about sustainability? A worm farm is a wonderful family project that helps reduce food waste, supports your garden, and gives children the opportunity to care for living creatures while learning about nature. Worms may be small, but they play a big role in creating healthy soil and helping our environment.
Here is how to start a worm farm at home, step by step, and how to get your children involved.
Worms are nature’s recyclers. They consume food scraps and organic materials, breaking them down into nutrient-rich worm castings and liquid fertiliser known as worm tea. Instead of food waste ending up in landfill, it is transformed into valuable resources for your garden.
A family worm farm can:
To get started, you’ll need:
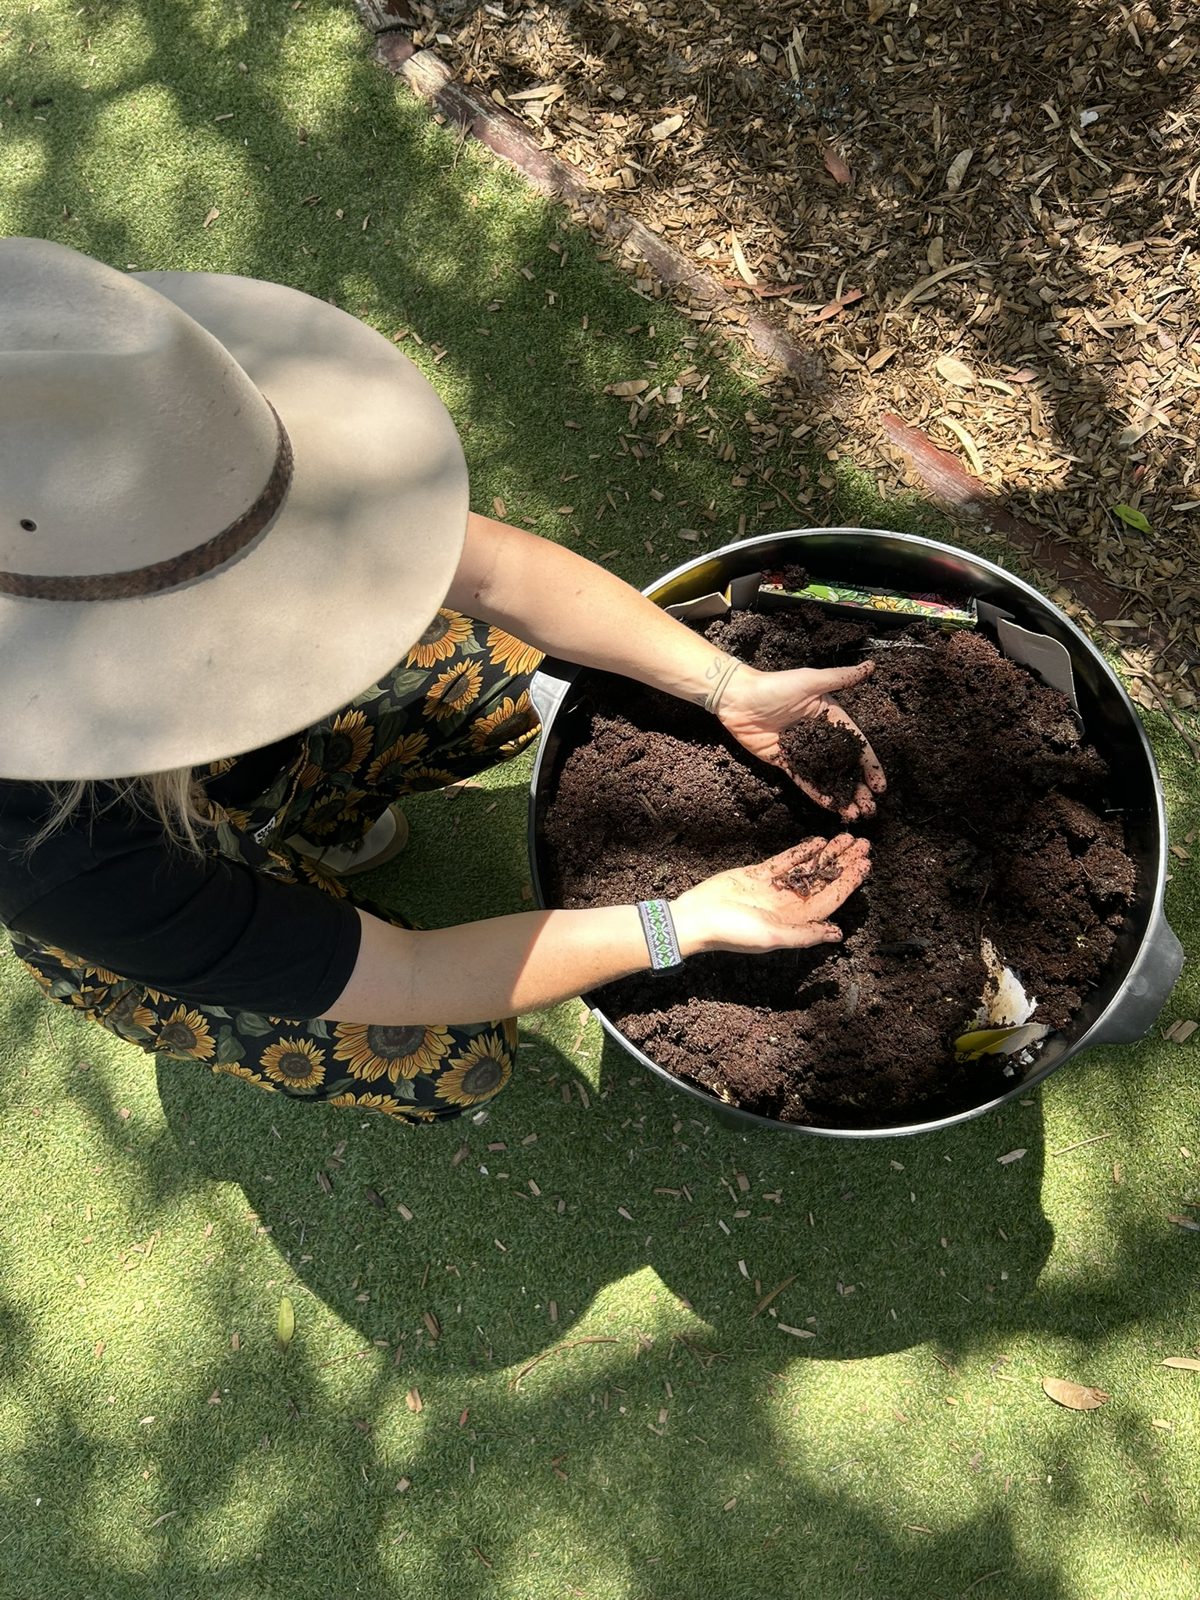
A healthy worm farm relies on a balance of two types of materials.
Brown materials provide carbon and help absorb moisture, reduce smells, improve airflow and keep the worm farm healthy. Good options include:
Green materials provide nitrogen and serve as food for the worms and helpful microbes. Good options include:
A tip on egg shells: egg shells are great for worm farms. They add grit that helps the worms digest their food and they balance the calcium levels in the farm. Crush them into a fine powder first. We don’t use egg shells in the Keiki worm farms because of allergies, but if you have no such concerns at home, they are perfect for a healthy worm farm.
Yes. Worms can eat banana peel, but there are a few steps that stop it going funky. Cut the peel into small pieces, bury it in the bedding and remember that variety is key: don’t feed the worms six banana peels at once and wonder why they aren’t getting through them.
Not all kitchen scraps belong in a worm farm. Avoid feeding worms:
Meat, fish and oily food can spoil a worm farm fast and should be avoided in any quantity.
A simple rule to remember is “little and often”. Three small feeds each week are better than one large feed.
To feed your worms:
A well looked after worm farm shouldn’t attract any garden nasties. The best way to avoid pests is to not overfeed and to bury your scraps. Scraps that aren’t eaten quickly begin to rot and attract pests.
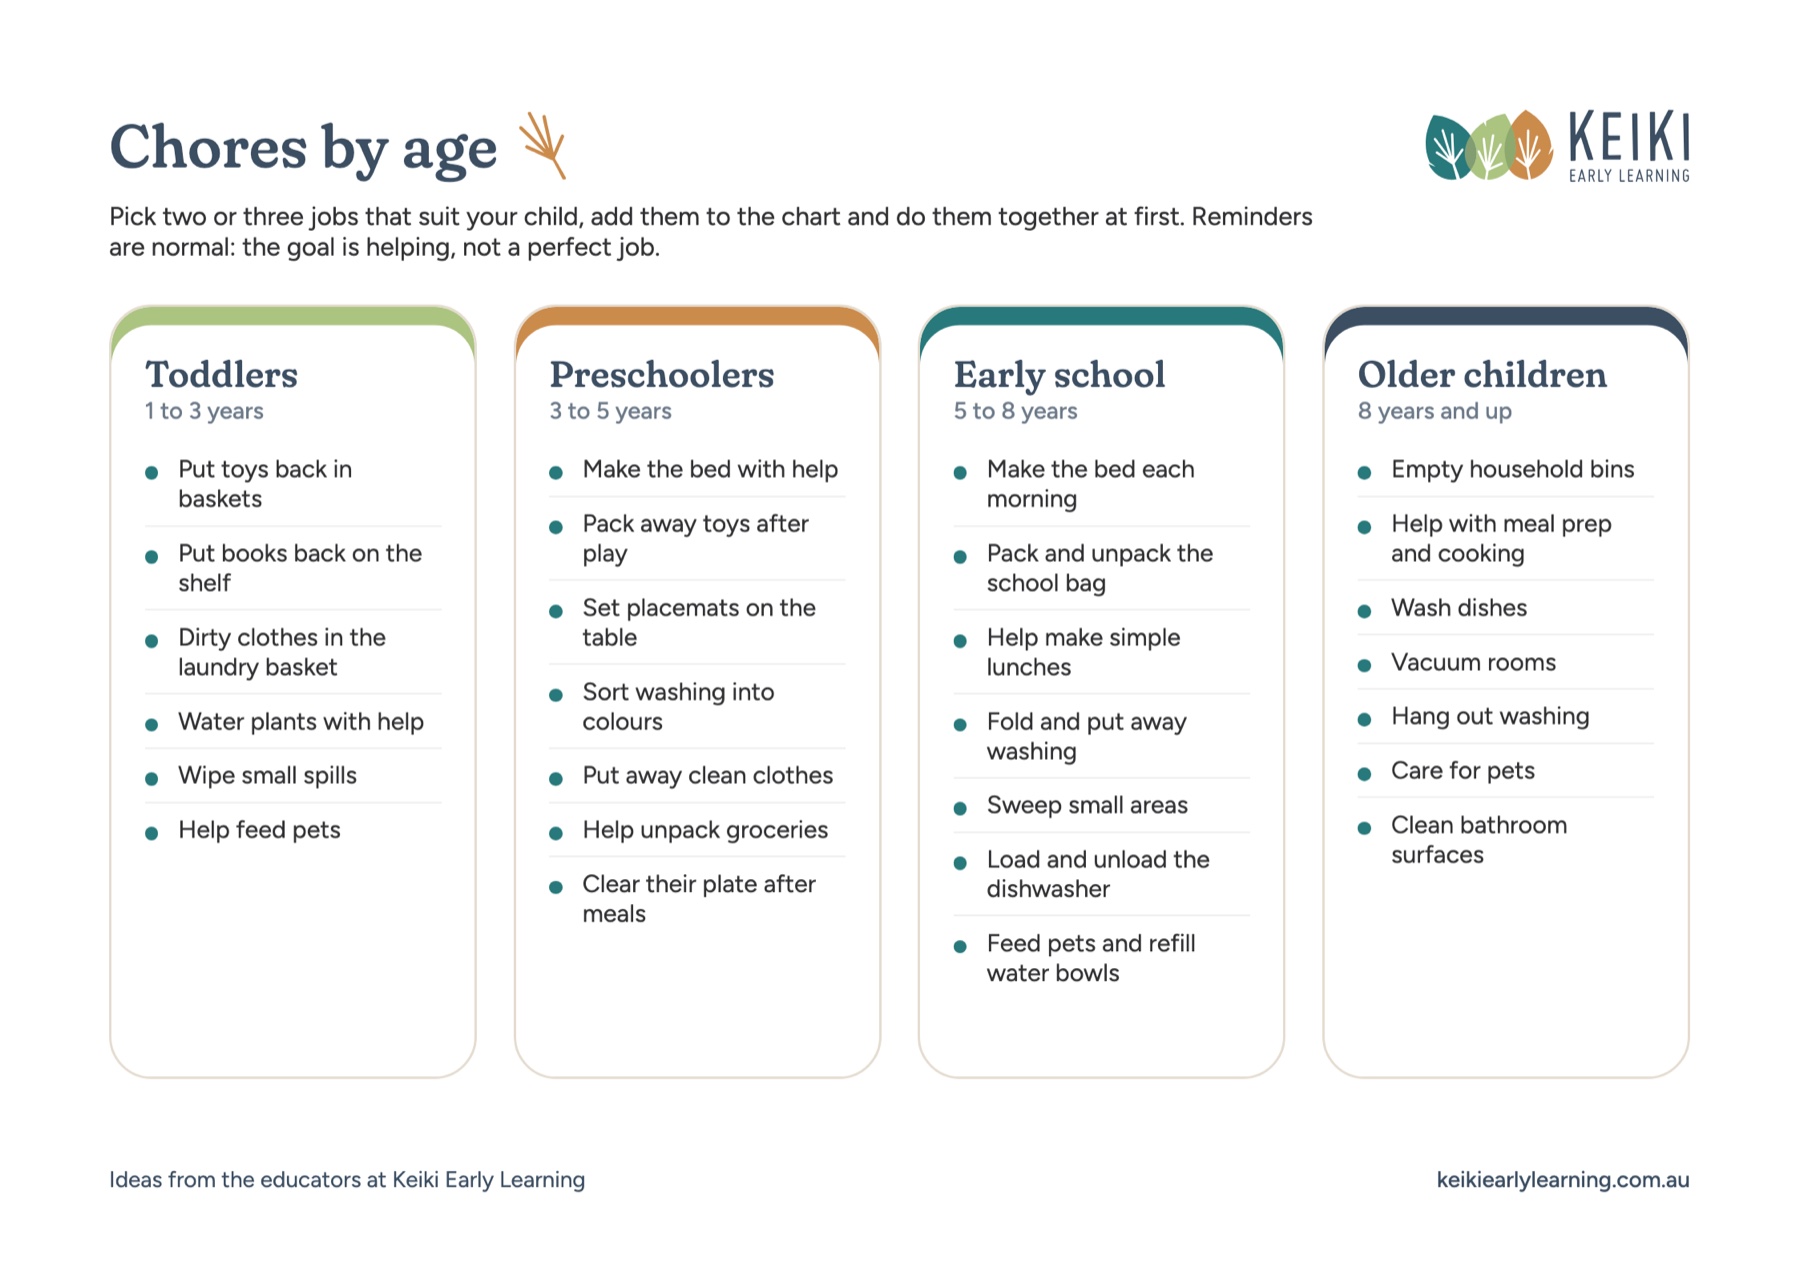
One of the most important lessons children can learn from a worm farm is that worms are living creatures that need care and respect. Encourage children to help feed the worms, observe them regularly and learn about their role in the environment. The more involved children are, the more connected they become to caring for the natural world. Looking after the worm farm also makes a great family job: see our guide to age-appropriate chores for kids for more ideas.

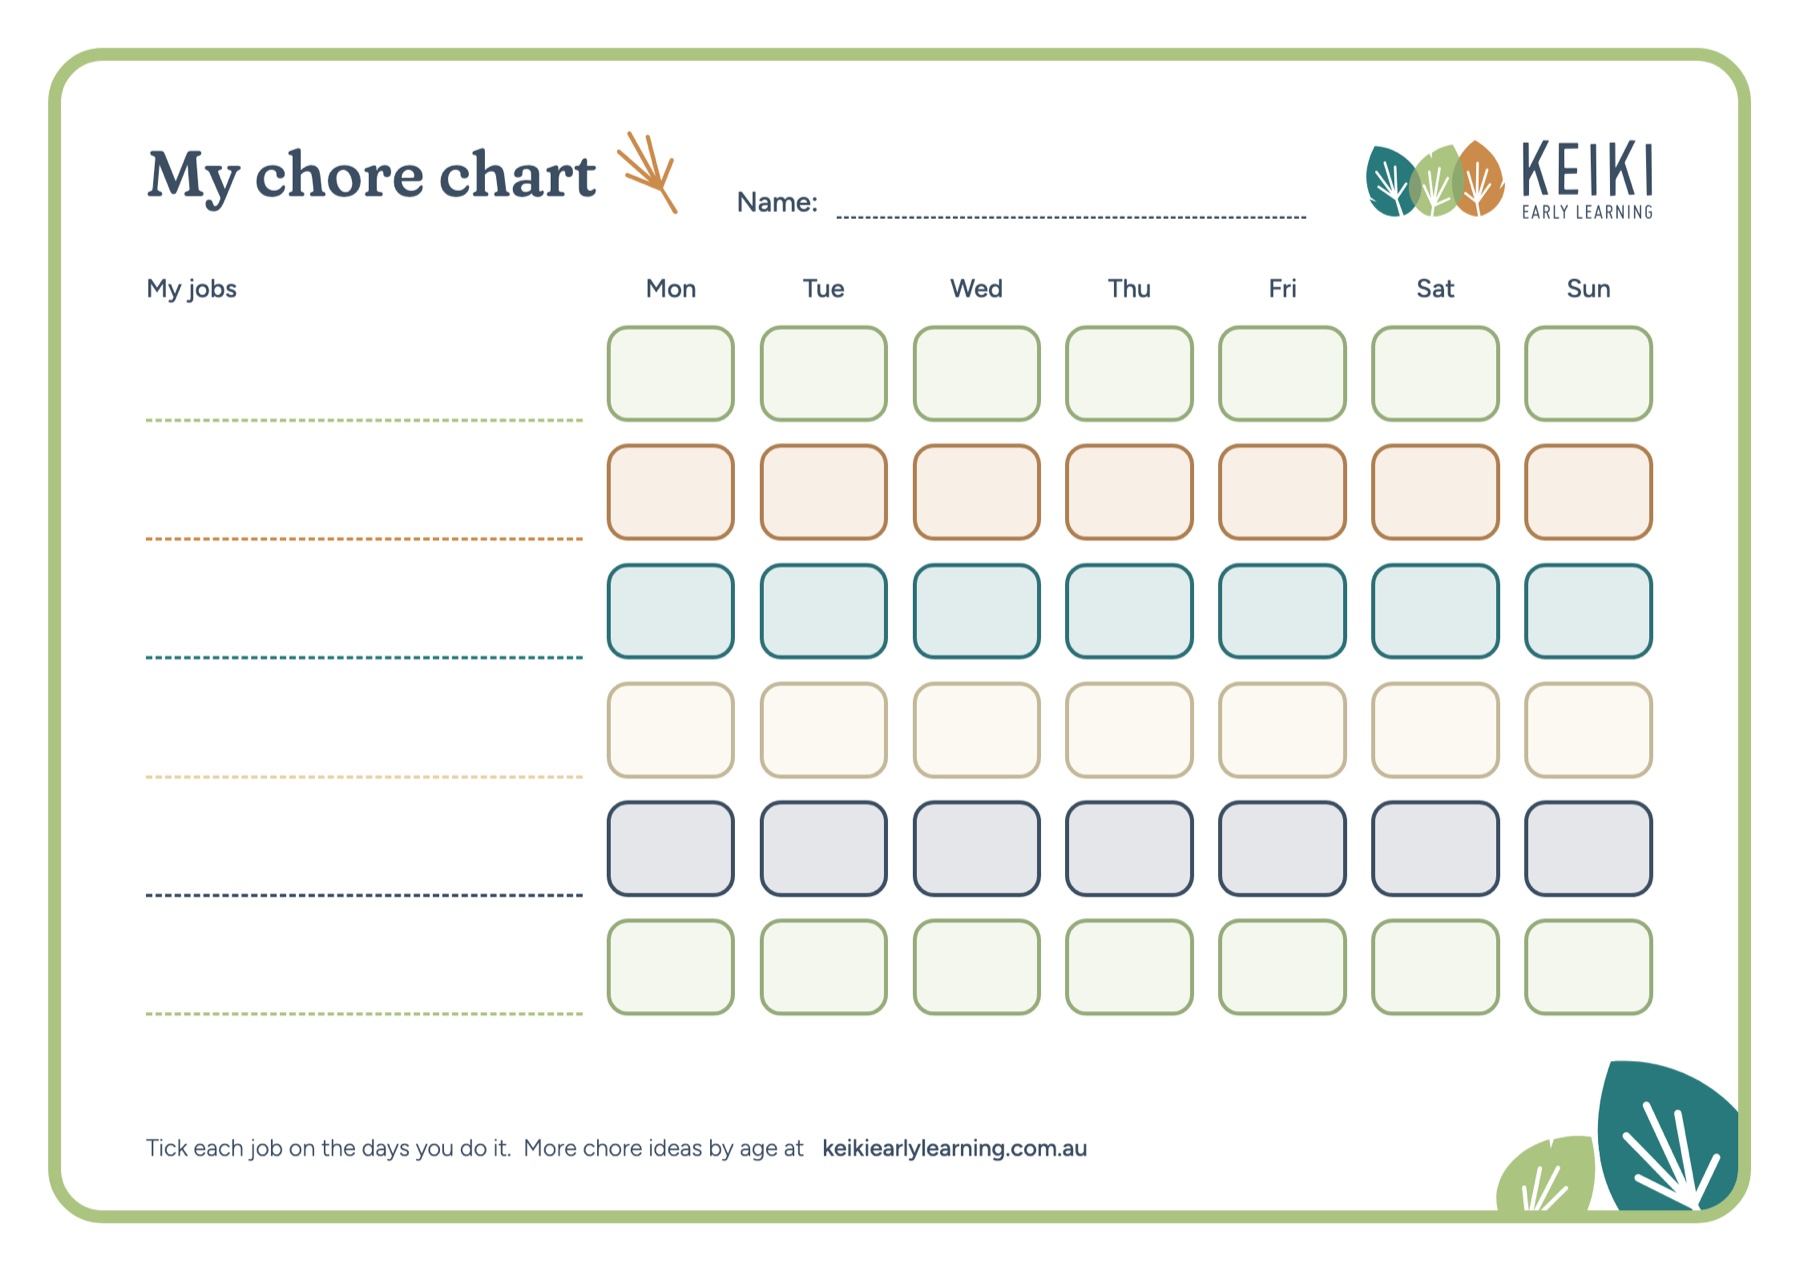
Add “feed the worms” to our free printable chore chart, with a weekly chart to fill in and chore ideas for every age.
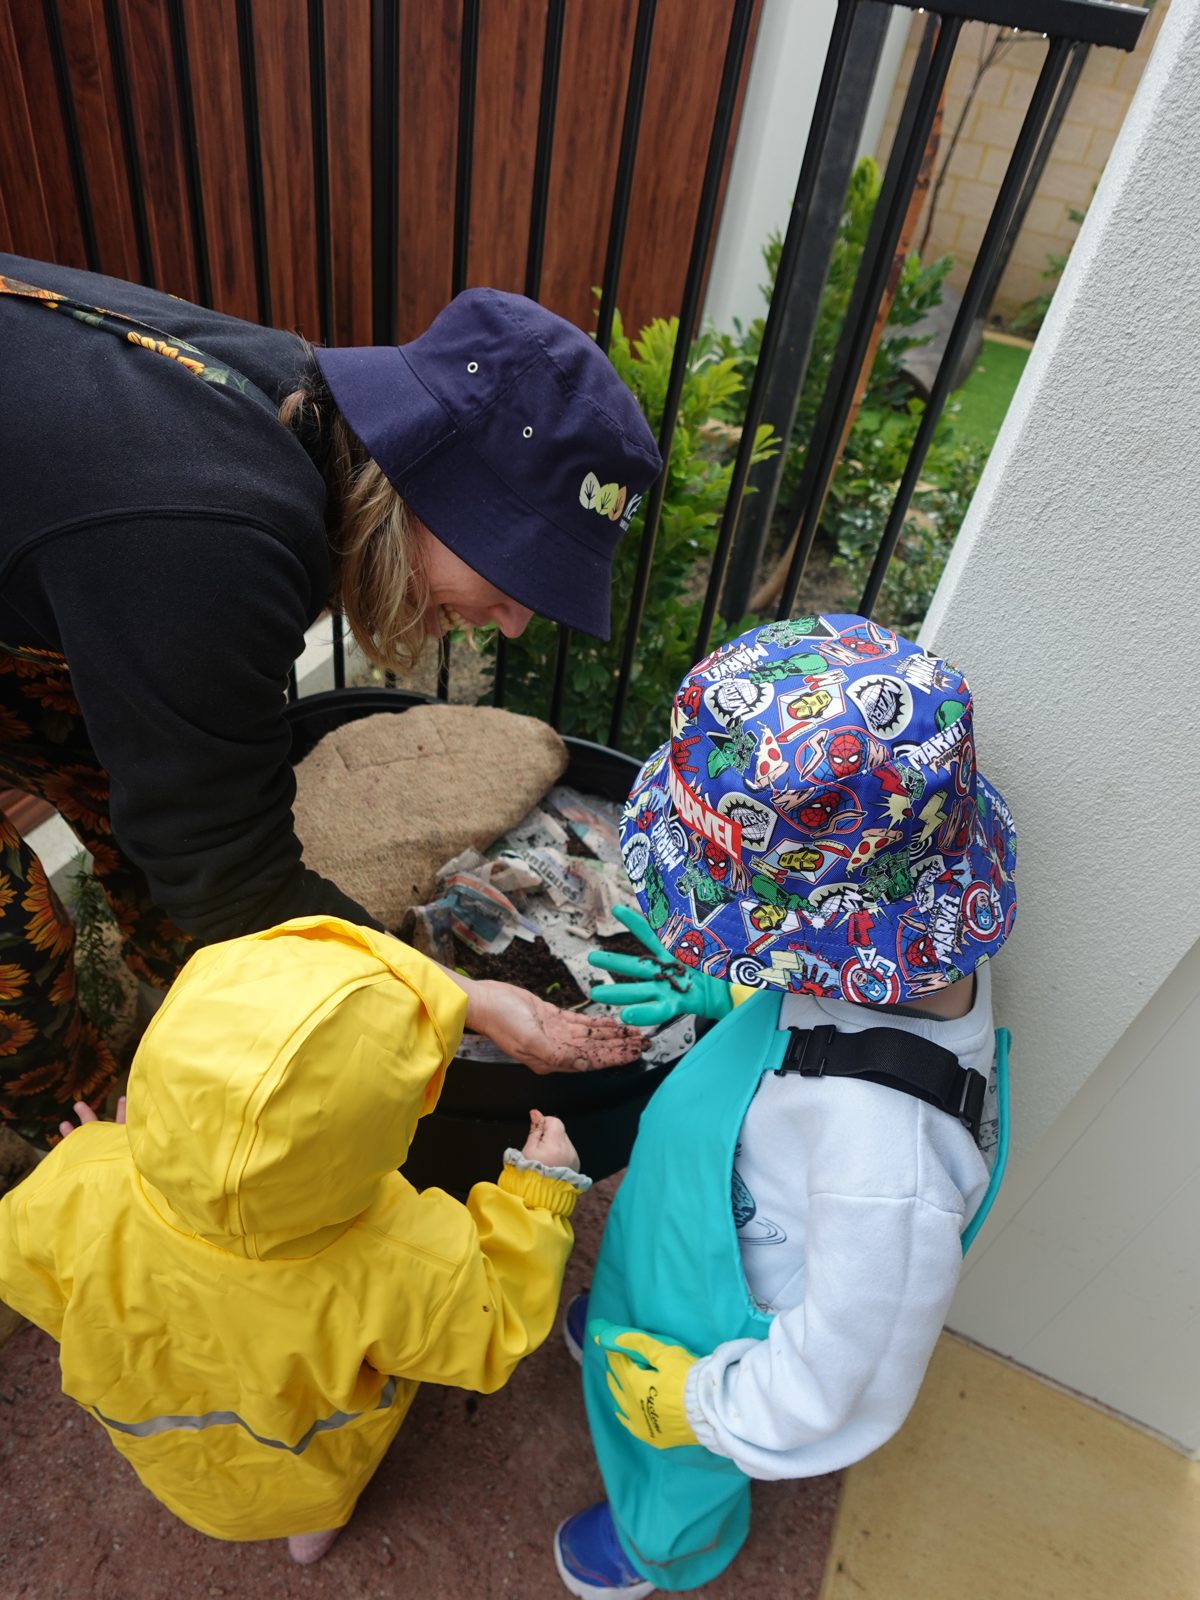
Children love getting hands-on with worms. With supervision, encourage them to:
Remind children to handle worms carefully. Worms should never be squeezed, pulled or thrown. Wetting hands beforehand can help make handling more comfortable for the worms.
After handling worms, everyone should wash their hands thoroughly with soap and water.
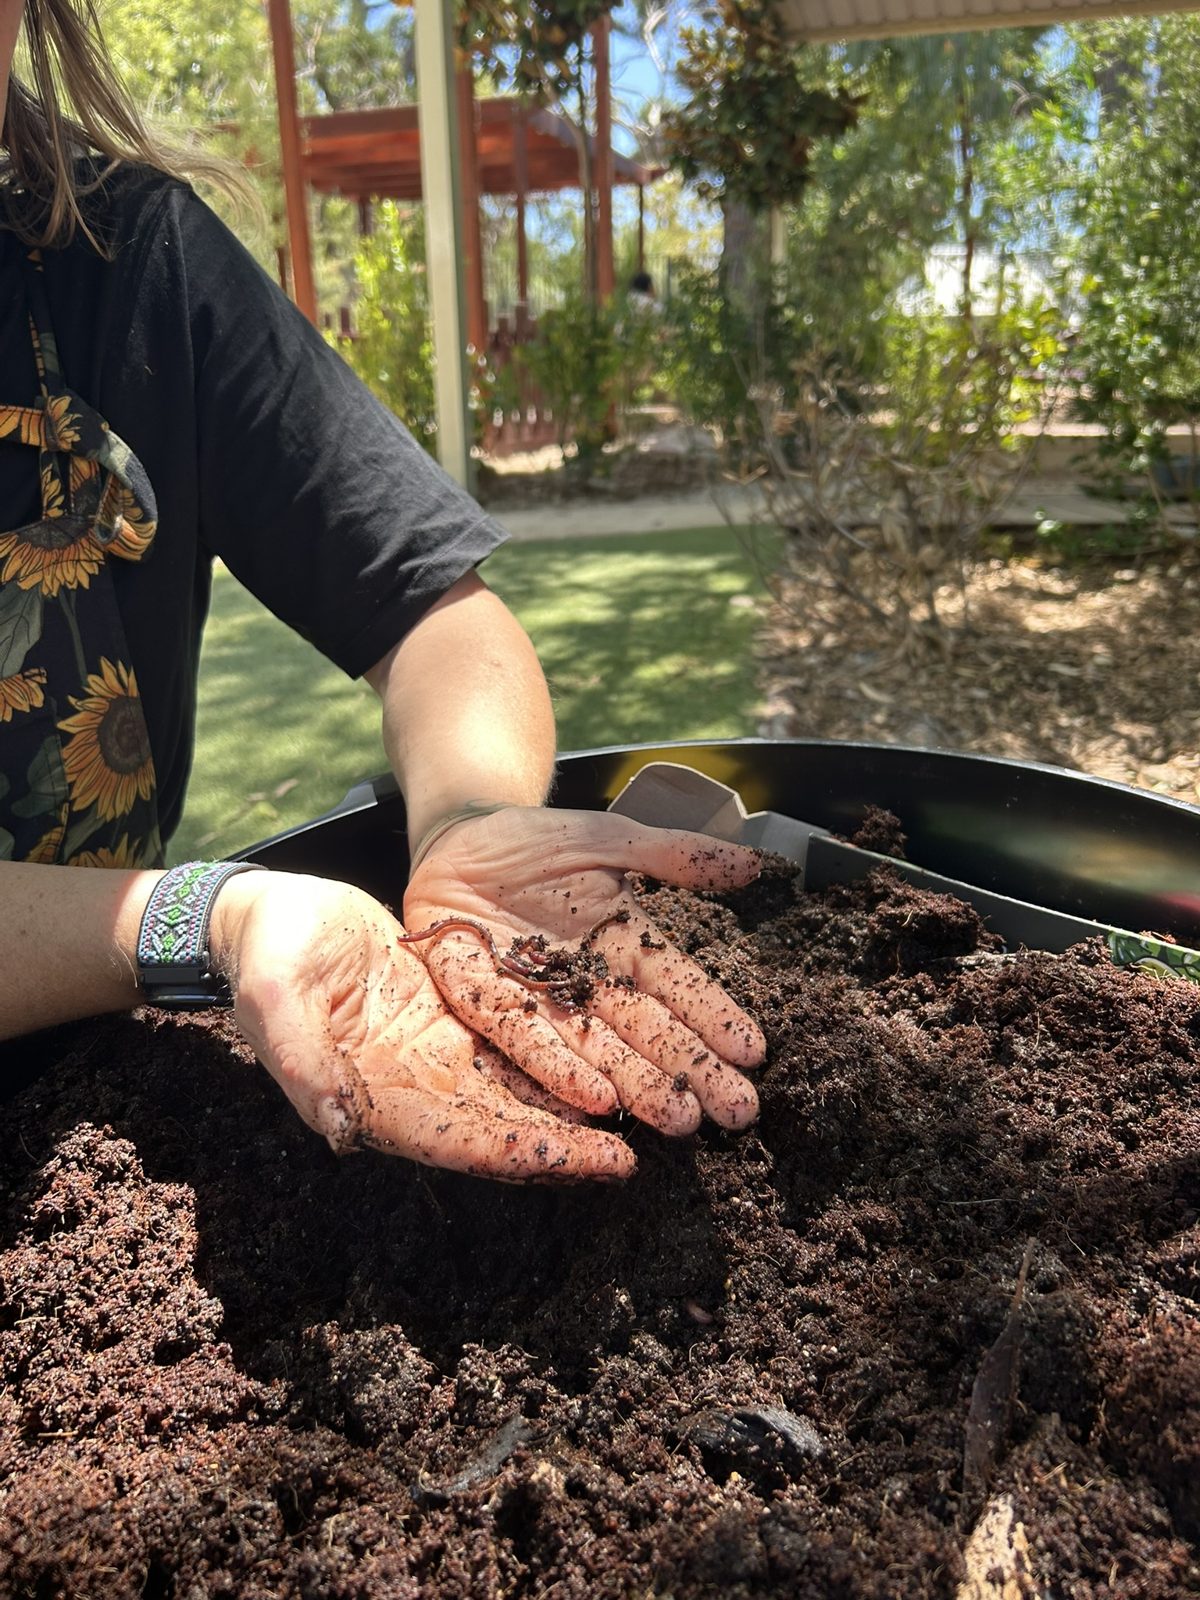
One of the most exciting parts of worm farming is collecting what your worms create.
Worm castings, often called “worm poo”, are packed with nutrients that support healthy plant growth. Mix small amounts into garden beds, pots or vegetable gardens to improve soil quality.
Worm tea is the liquid that drains from the worm farm. Before using it on plants, dilute it at about one part worm tea to ten parts water. Apply it directly to the soil around your plants for a natural nutrient boost.
Even experienced worm farmers run into challenges from time to time.
| Problem | Possible cause | Quick fix |
|---|---|---|
| Bad smell | Too much food or moisture | Add brown materials and reduce feeding |
| Worms escaping | Farm too hot, wet or acidic | Add brown materials and move to a cooler spot |
| Ants | Farm too dry | Increase moisture |
| Farm too wet | Too many watery scraps | Add extra brown material and check drainage |
| Food not breaking down | Pieces are too large | Chop scraps into smaller pieces |
| Rats or other pests | Overfeeding, or scraps left on top | Feed less and always bury scraps in the bedding |
Location is key. During summer, find a nice shady spot for your worms: under the house eaves, a pergola or a tree is ideal. Perth summers can be long and brutal, so planning ahead is your best defence.
In the hotter months at Keiki we follow “Moisture Monday”. Every Monday we pour 2.5 litres of water from a watering can into the top layer of the worm farm, and on Wednesday we harvest the worm tea. This keeps the bedding moist without flooding the farm. In summer, check on your worm pets daily.
Starting a worm farm is a simple and rewarding way to help children understand where food waste goes and how nature recycles. Through feeding, observing and caring for their worms, children develop a deeper appreciation for the environment and learn that even the smallest creatures can make a big difference. Whether you’re growing vegetables, flowers or simply a love of sustainability at home, a worm farm is a fantastic project the whole family can enjoy.

Keiki runs an Eco Learning Program throughout the year, and our worm farms are an important part of learning about the natural ecosystem and caring for the smallest creatures in our gardens.
Every Keiki service has a worm farm, including our Outside School Hours Care services. The children take turns caring for it: feeding, adding water, harvesting worm tea and castings, and singing a thank you song for all the worms do for us. At Keiki we call the worms our worm pets, and the children are always excited to tell their families that we have a farm at Keiki and 5,000 pets.
To see our gardens and learning spaces and find out more about our Preschool Program, book a tour at your nearest Keiki Early Learning centre.